
|
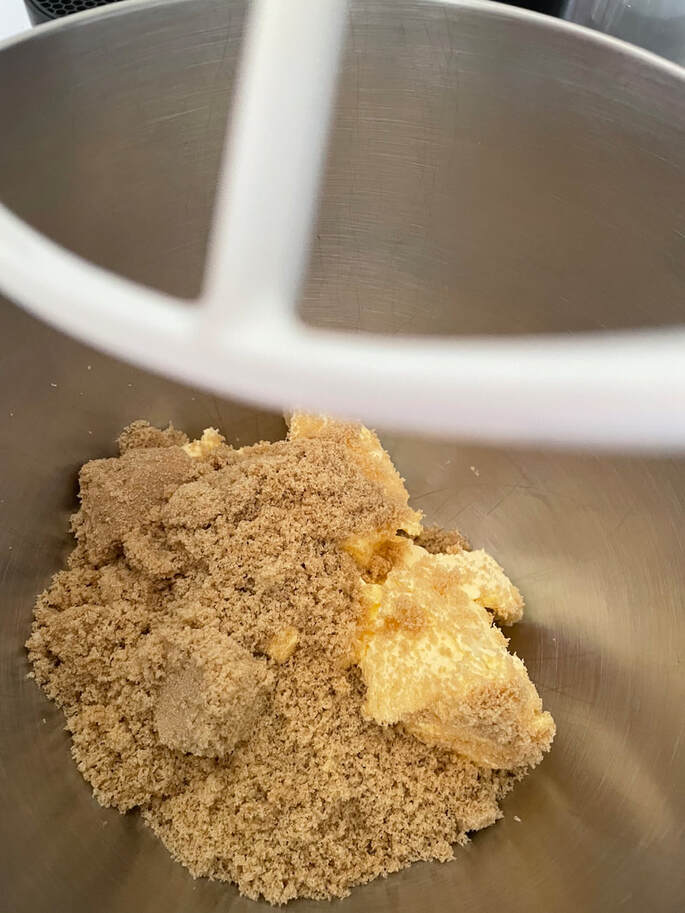
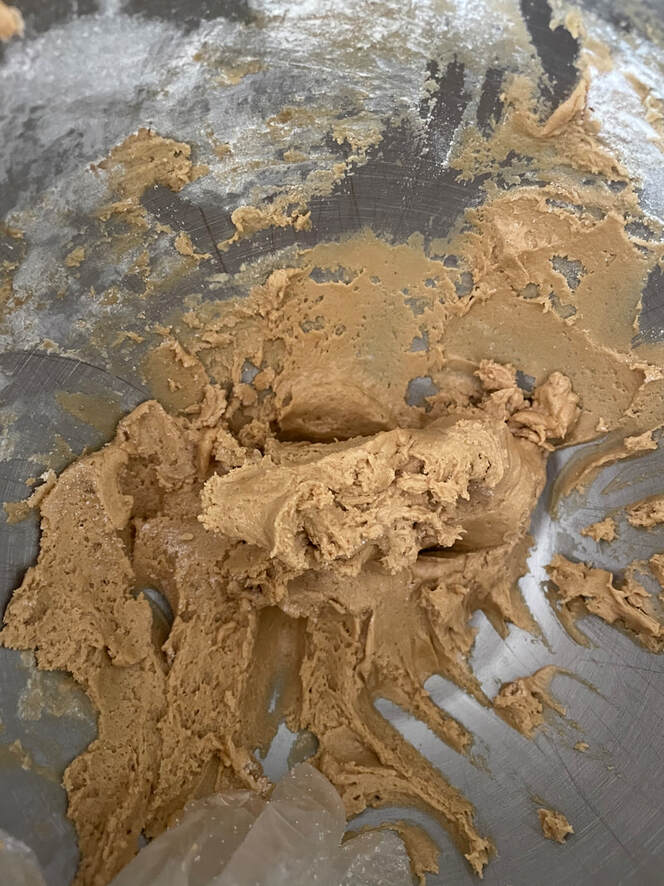
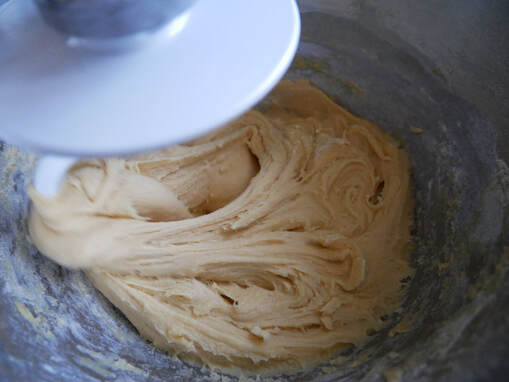
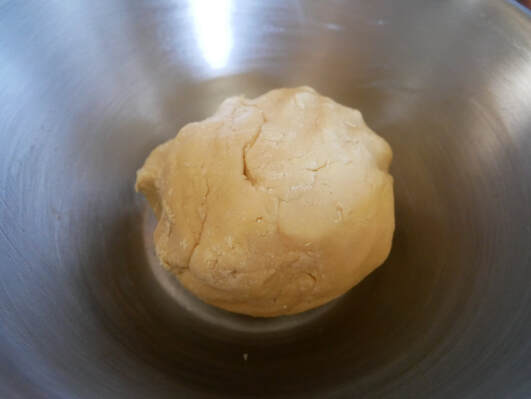
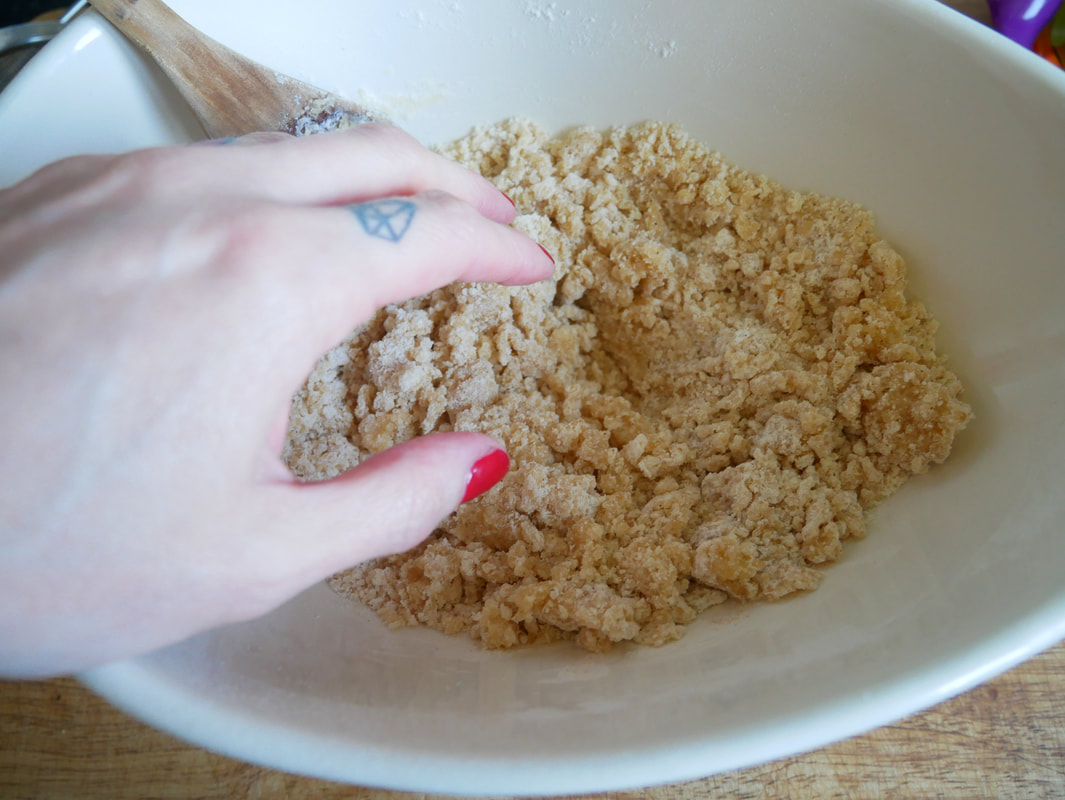
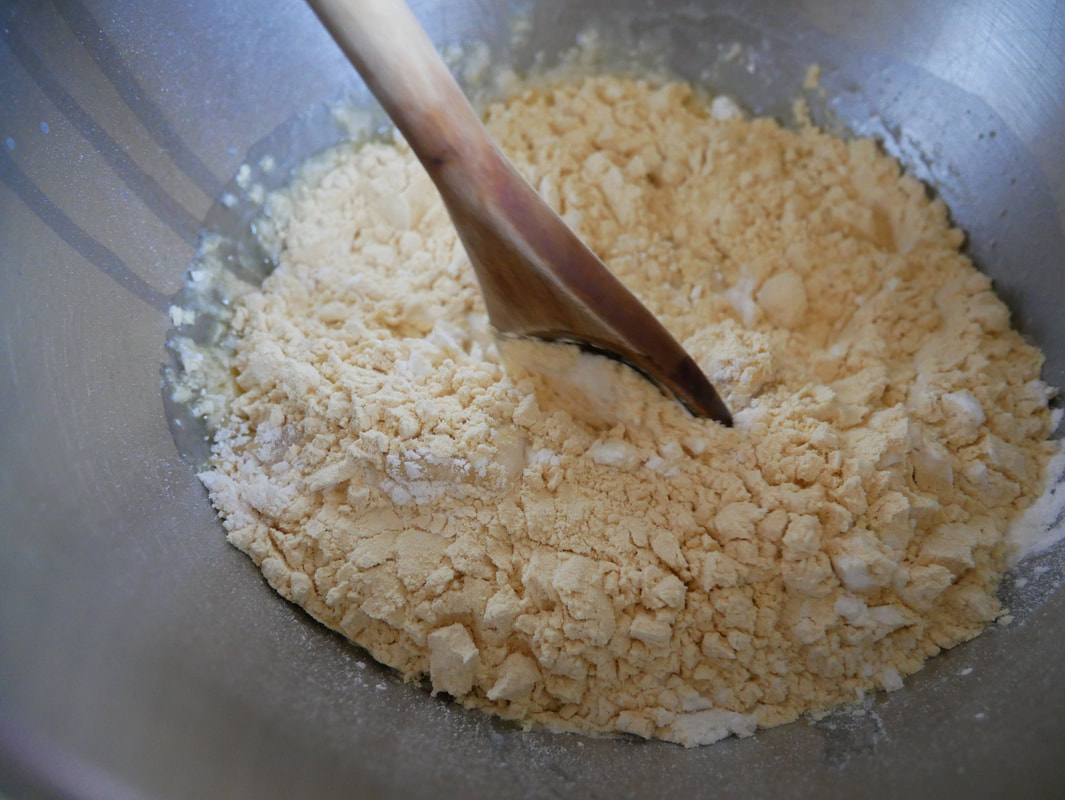
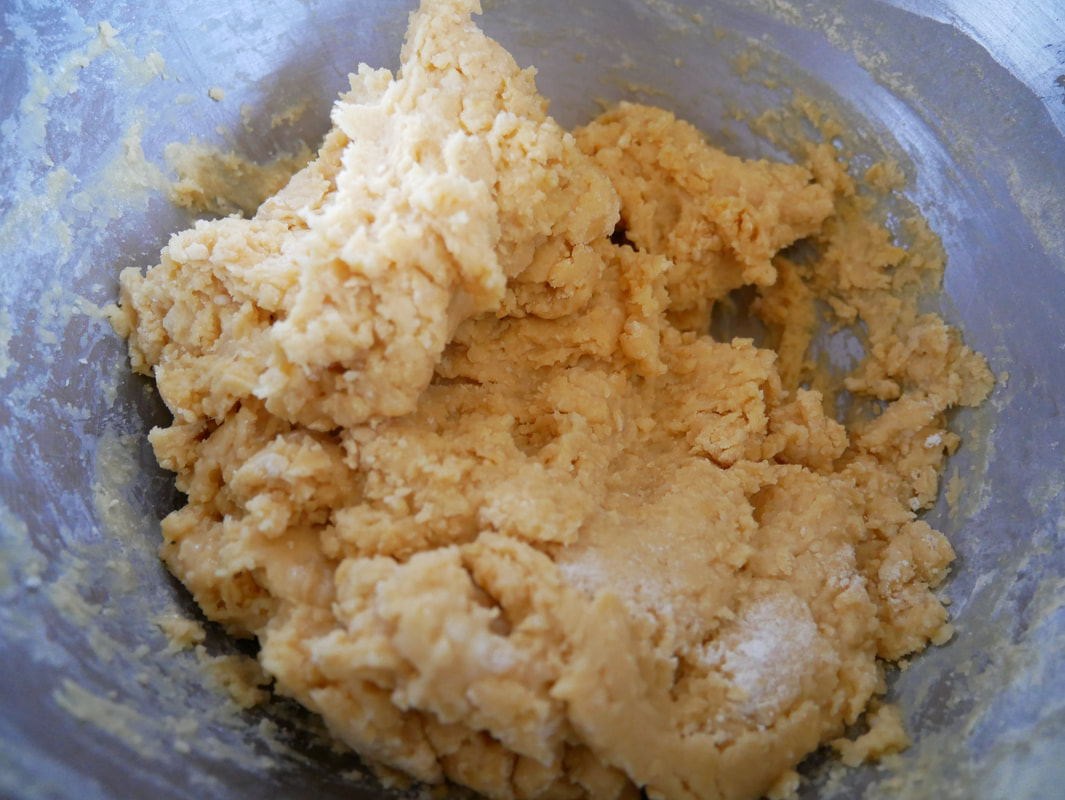
What an incredible joy it is to be back touring with Foodies Festival. Not only do I get to hang out with some of the most phenomenal chefs and bakers there are, I also get to bake and shake with the best vanilla there is! Little Pod vanilla makes the most wonderful (and real) vanilla you'll find, they also produce coffee and chocolate extract (which you will see used in so many more of my recipes you'll want me to shut up more than you already do!). On the tour this year, I'm giving you coffee & vanilla doodles AND a coffee & vanilla cocktail - this is clearly because I love you all, and I know how much everyone needs a cocktail and a cookie; especially a cookie you can dip into your cocktail. Just call me Nigella Lawson circa 2008. Also, I now need to go back and watch her Christmas episodes. They bring me so much joy. Anyway, I digress from the importance of bringing you a recipe! One note I have here is that you can omit the cream of tartar if you don't have it, but honestly, it does make a huge difference to the flavour - it gives these cookies such a lovely tangy quality that is so worth popping to the supermarket for the ingredient you may not have in your store cupboard. One last word before the recipe (you've already scrolled past this I know, I know); whilst I would continue to write recipes here, I owe an incredible debt of gratitude to my darling friend Charlotte White for believing in me and indulging me and for permitting me to join the Foodies Festival family. I am eternally grateful, and praise must be given to Charlotte for hosting such a fantastic theatre at Foodies. She is a true gem. Now, the recipe!! 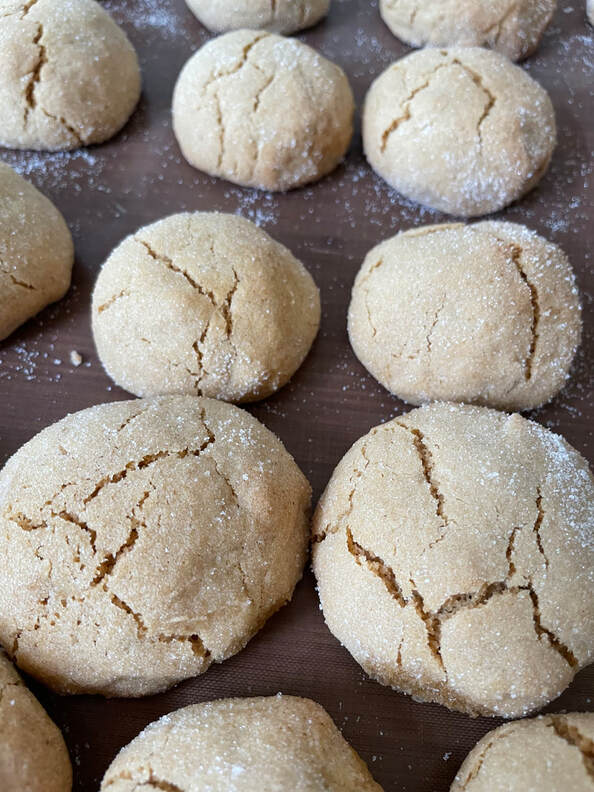 INGREDIENTS 100g dairy free spread (or butter if you prefer, but this must be soft / at room temperature) 100g soft light brown sugar (or a 50/50 split dark brown sugar & caster sugar) 1tsp Little Pod vanilla bean paste 1/2tsp Little Pod coffee extract *optional 200g self raising gluten free flour (I like Dove's Farm) 1/4tsp xanthan gum 3/4tsp cream of tarter 1tbsp espresso powder 1 1/2 tbsp milky coffee, cooled (I use GF oat milk here) 3 tbsp caster sugar to coat *optional METHOD

Eat and drink and, indeed, be merry!
0 Comments
I never thought that Tony would post recipes here on my website, but having been travelling the country with Foodies Festival and with everyone absolutely loving his demonstrations, it seemed only fitting that I should post it here for you all (he doesn't have a website, so essentially I'm pimping mine out!). Each stage is laid out below, but if you have any questions about the recipe, please do get in touch. 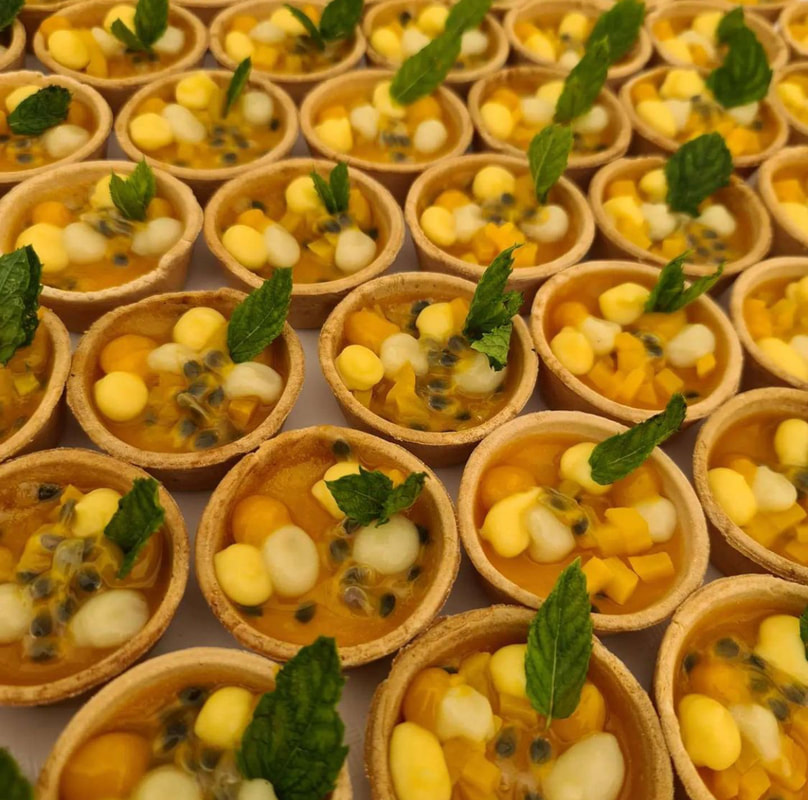 Passionfruit Tart
Tarts 450g rice flour 225g vegan butter 180g icing sugar 60g gf plain flour 60g cold water Pinch salt Place all ingredients in the kitchen aid with a paddle attachment and mix until a pastry forms. Roll out between 2 layers of baking paper until 3mm thick. Place in a freezer for 30 minutes to chill. Grease the rings with vegan butter and place on a flat gastro lined with baking paper. Take the pastry from the freezer and cut out discs with the rings for bases. Cut strips of pastry and line the sides. Trim. Prick the bases with a fork. Place back in the freezer. Blind bake at 165C for 20 minutes or until golden. Remove the baking beans and bake for a further 5 minutes. Mango Gel 55g sugar 3.5g agar 320g mango puree Combine, heat to 85C. Set, blend, pass. Piping bag. Passionfruit Cream 220g sugar 20g NH pectin 2g xanthan gum 360g passionfruit puree 400g water 160g coconut oil Heat everything except coconut oil to dissolve sugar and activate pectin (85C). Chill. Add coconut oil and blend with stick blender. Set in gluten free tart cases. Reserve remaining for garnish. Lemon Gel 20 Lemons Sugar Salt Water Boil Lemons in 5% Brine for 10 minutes. Remove and roast in oven at 180 degrees for 15 minutes. Finally poach lemons in 2:1 sugar:water. Blend, pass, piping bag. Fresh Mango & Passion fruit 2 mangoes 2 passionfruit Dice the mangoes, deseed the passfruit. Passionfruit glaze 400g passion fruit puree 2 passionfruit 85g sugar 6.5g NH pectin Heat to 82C. Pour over tart Passionfruit Sorbet 1Kg Passionfruit Boiron - melted 360g Sugar 240g Glucose 470ml water Bring all ingredients to the boil. Pass through chinois and chill before churning. Store in freezer. When your amazing friend, sister from another mister and baking guru Charlotte White asks you to come back to Foodies Festival for a demonstration, you of course say an emphatic yes, but then panic about what you're going to bake and how you're going to fit recipe testing into your already insanely hectic work schedule. The one thing I did know was that I wanted to start a series of cakes & cocktails for my demonstrations, but I wasn't sure what path to take. I toyed with mojitos and martinis, but I kept coming back to the fact that I wanted to keep it simple, so the bramble muffin & the bramble cocktail became the obvious choice. These muffins are both gluten & dairy free and can be made vegan by replacing the egg with either 2 tbsp flaxseed mixed with 4 tbsp water or 2 eggs worth of standard egg replacer. I really love using rice flour here, it gives the muffins a lovely sweet nuttiness, but if you only have standard GF flour, this will work too.  Recipe Makes 6 Prep time: 5 minutes Cook time: 20 minutes INGREDIENTS: 150g rice flour 1/4 tsp xanthan gum 1/4 tsp bicarbonate of soda 1/2 tsp baking powder 90g golden caster sugar 2 eggs 4 tbsp coconut oil (melted & cooled a little) 120g dairy free yoghurt (I like Oatly, however, if you are coeliac, use soya or coconut yoghurt as Oatly cannot guarantee it is fully GF) 2 tbsp creme de mure (I love British Mure, but any blackberry liqueur will be fine, you can also use alcohol free blackberry syrup) 120g blackberries (fresh or frozen) *optional 1 tbsp Demerara sugar METHOD:
 What do you do when you have an insane amount of blueberries in the fridge and have no idea why? Make blueberry muffins of course! Essentially, this recipe was created using the framework of an online recipe I found and ingredients I had in the house (now is not the time to be pottering around the shops after all), but I love a bit of recipe tinkering. Don’t you? 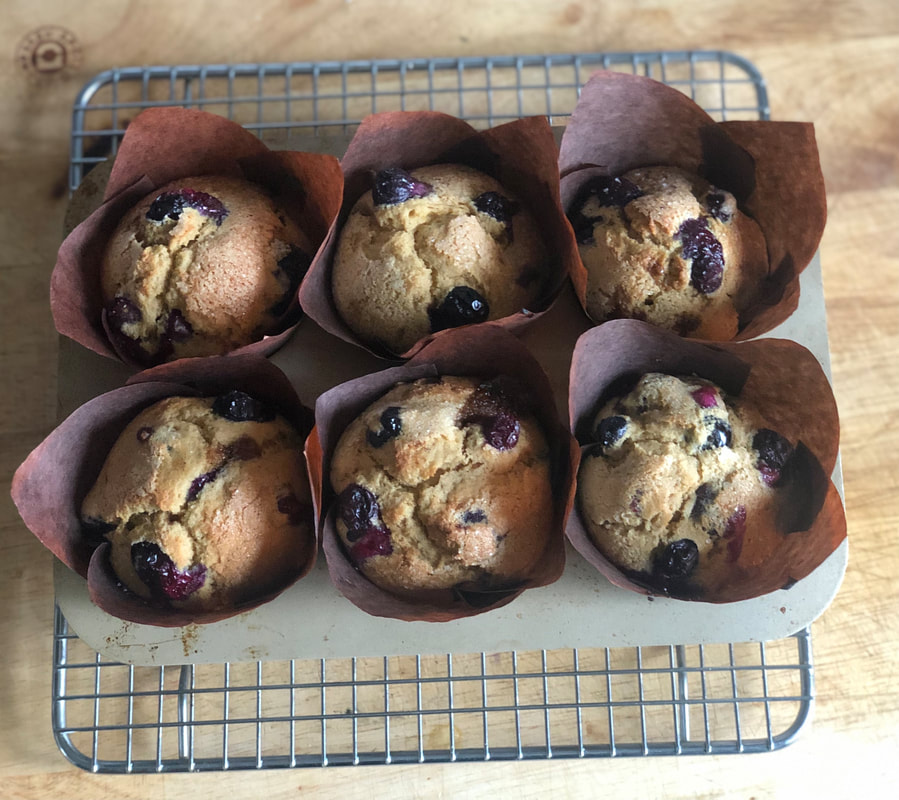 Makes 6
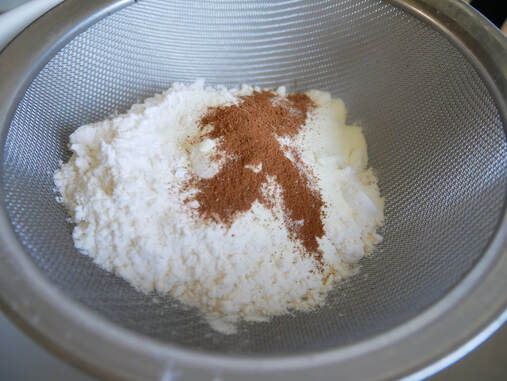
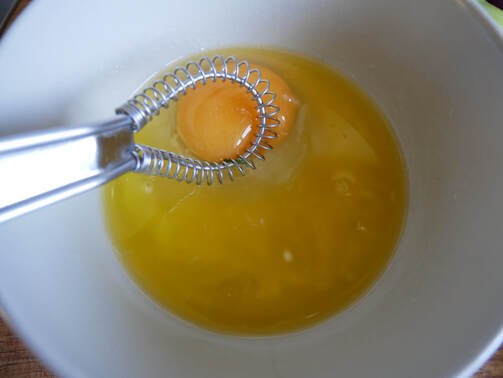
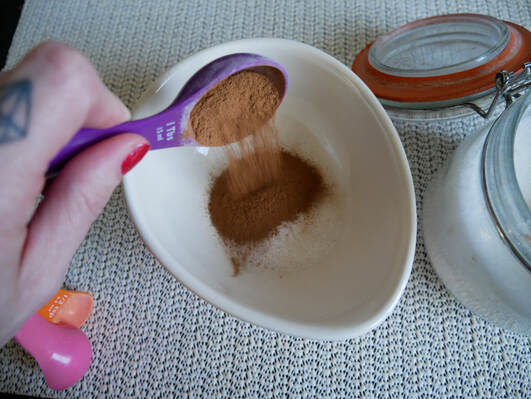
Prep time:10 minutes Cook time:20 minutes INGREDIENTS: 150g rice flour 1/4 tsp xanthan gum 1/2 tsp baking powder 1/4 tsp bicarbonate of soda 1 tsp ground cinnamon pinch fine salt 50g caster sugar 2 tbsp soft brown sugar (if you don’t have this, you can use muscavado, dark brown, or just add an extra 2 tbsp of caster sugar) 120ml milk soured with 1/2tsp lemon juice (you can use any milk you like; I used Rebel Kitchen Mylk and if you have buttermilk, use this instead) 2 eggs 4 tbsp coconut oil, melted and cooled a little. (You can use unsalted butter or any other dairy free alternative you prefer) 120g blueberries (fresh or frozen, I prefer fresh) 1 tbsp granulated sugar for sprinkling (optional) METHOD:

VE Day Cake
This recipe is inspired by the cakes that would have been eaten on VE Day. Communities would have saved up their rations and shared them with their neighbours in order that a food-filled celebration could take place. Though the years following VE Day would mean austerity for all, the street parties that took place on this day were at least for this one day, filled with food, love and laughter.
Eggs had been rationed so much that they couldn’t be used, so I’ve done the same here. This cake is easily made vegan by replacing the butter with a vegan alternative and plant-based milk is also very easily substituted. I would suggest oat. I made a video of the making of this cake which I have included below. Enjoy. Make the cake, don't worry that it doesn't look pretty - it's not meant to, just celebrate VE Day and don't forget all those we lost during WWII.
MAKES 1 x 20cm SPONGE
PREP TIME: 10 minutes COOKING & COOLING TIME: 1 hour INGREDIENTS: For the sponge: 110g sugar (caster or granulated will work here) 50g soft unsalted butter ½ tsp vanilla extract 125g gluten free plain flour 15g cornflour 100ml whole milk ½ tbsp apple cider vinegar (or use white wine vinegar if you don’t have cider) 15ml hot water 1 tea bag (I use earl grey, but English Breakfast will work too) 1 tsp bicarbonate of soda ½ tsp baking powder ¼ tsp xanthan gum/psyillium husk For the icing: 200g icing sugar, sieved (sorry) Lemon juice (fresh or plastic whichever you have) Small cup of black Tea (whichever you used in the sponge) METHOD:
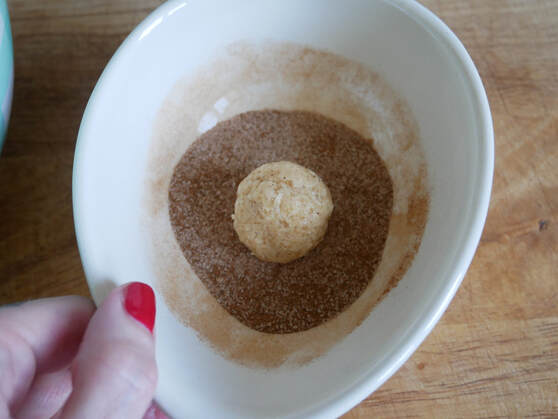
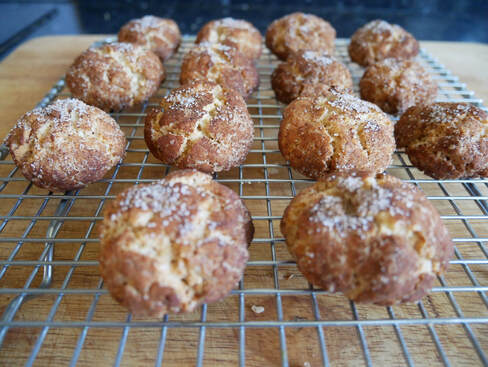
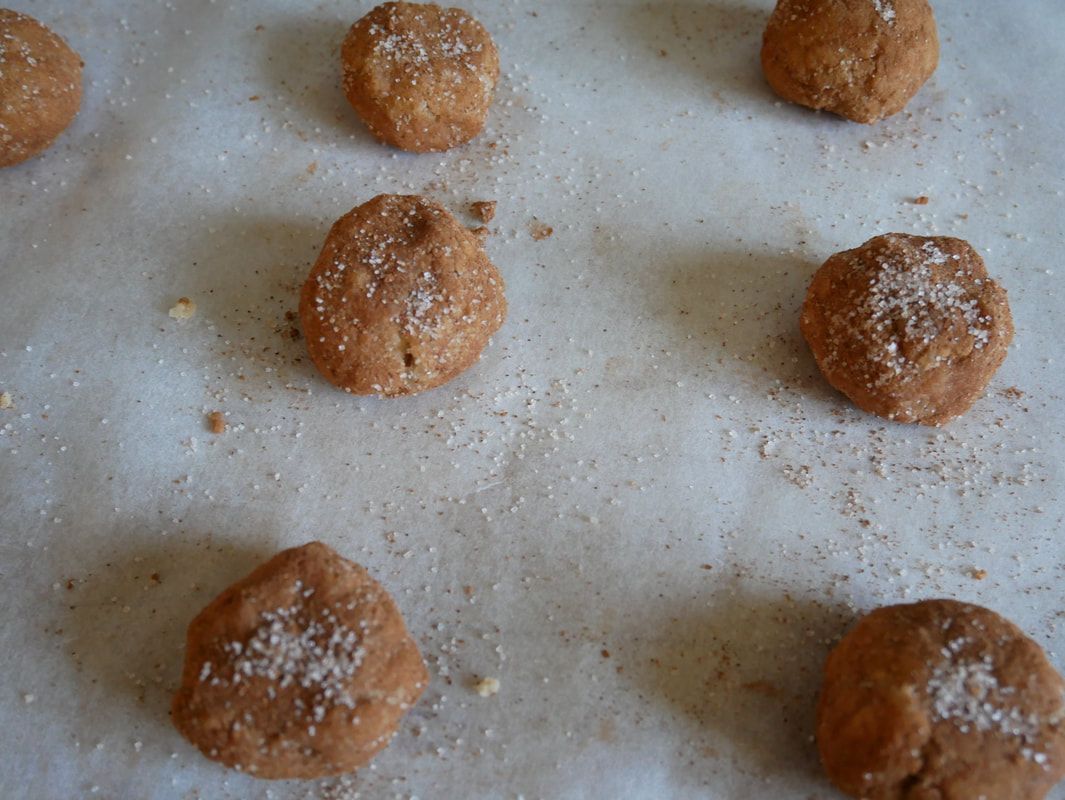
A long while ago, before I became gluten-free, before I met my OH and opened a restaurant, I had a very small kitchen in Surrey and made cookery videos. I think it's definitely something I will start doing again, though the set up can be a little onerous at times. Especially when the best place to film is your dining room and therefore you have to get everything set up on the dining table etc. - not ideal! Anyway, I digress. I used to make these cute little cinnamon biscuits (which are very popular in the US) quite regularly as they are not only super easy to make, they are utterly fantastic with a good cup of coffee (or cuppa joe to quote our American friends). I made a video of the making of these, and thought I would provide the gluten-free recipe here, as the video shows a "regular" version. I've made these very recently, as, whilst we are in lockdown, having time to really indulge in a little Hygge / Fika is definitely something I'm really loving.
Makes 12-15
INGREDIENTS: 150g gluten free plain flour, or any GF flour of your choice 1/2 tsp gluten free baking powder 1/4 tsp xanthan gum 100g caster sugar 1 egg 1 tbsp coffee mate (I know, weird, right! This can be omitted if you don't have it, but it adds a lovely creaminess to the cookies) 30g butter, melted & cooled 1/4 tsp ground cinnamon FOR THE COATING: 1tbsp caster sugar 1/2 tbsp ground cinnamon METHOD:
Change up the spices if you fancy it - ginger works a treat, as does mixed spice!
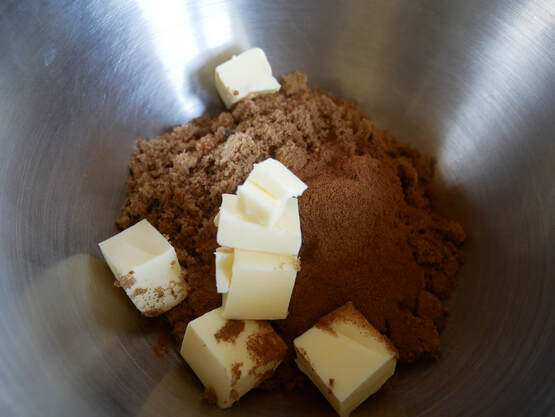
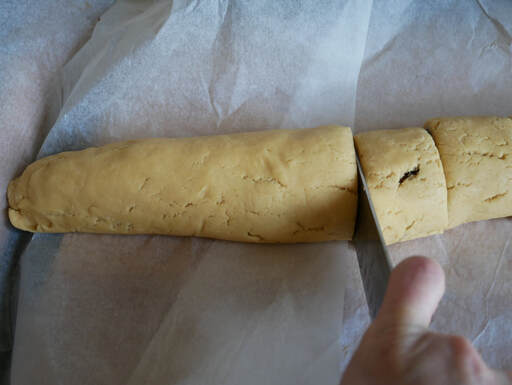
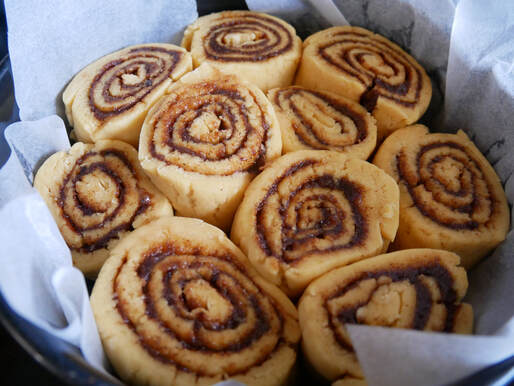
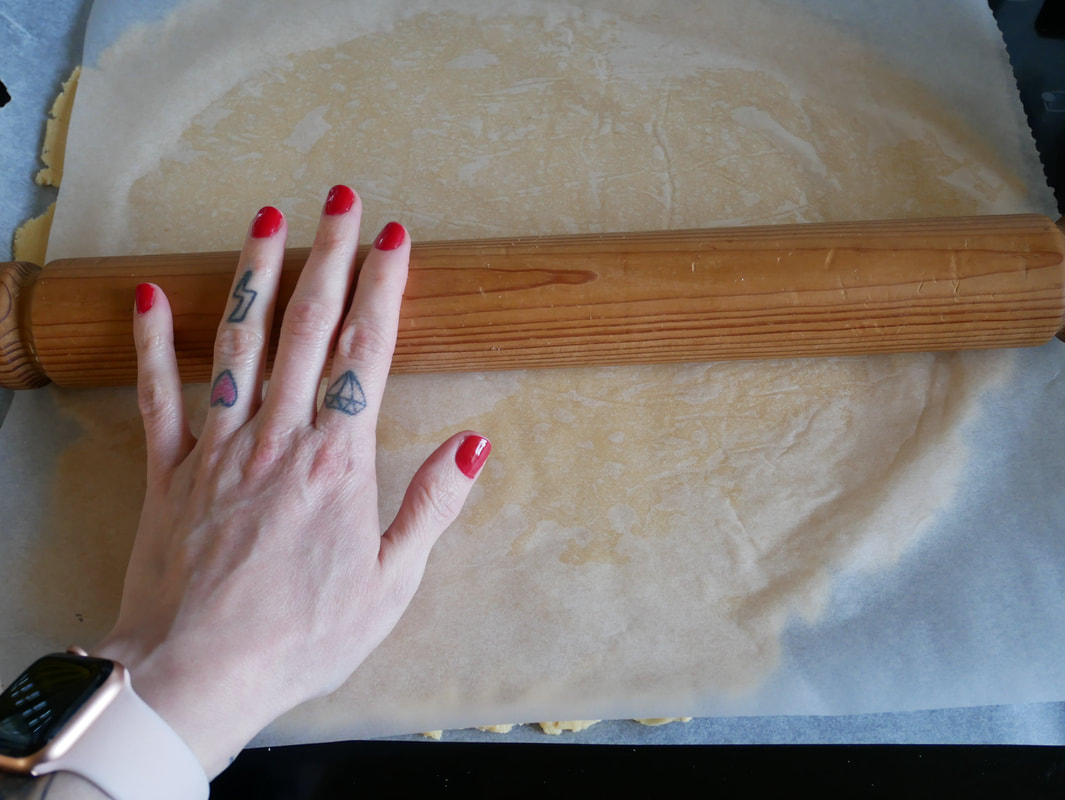
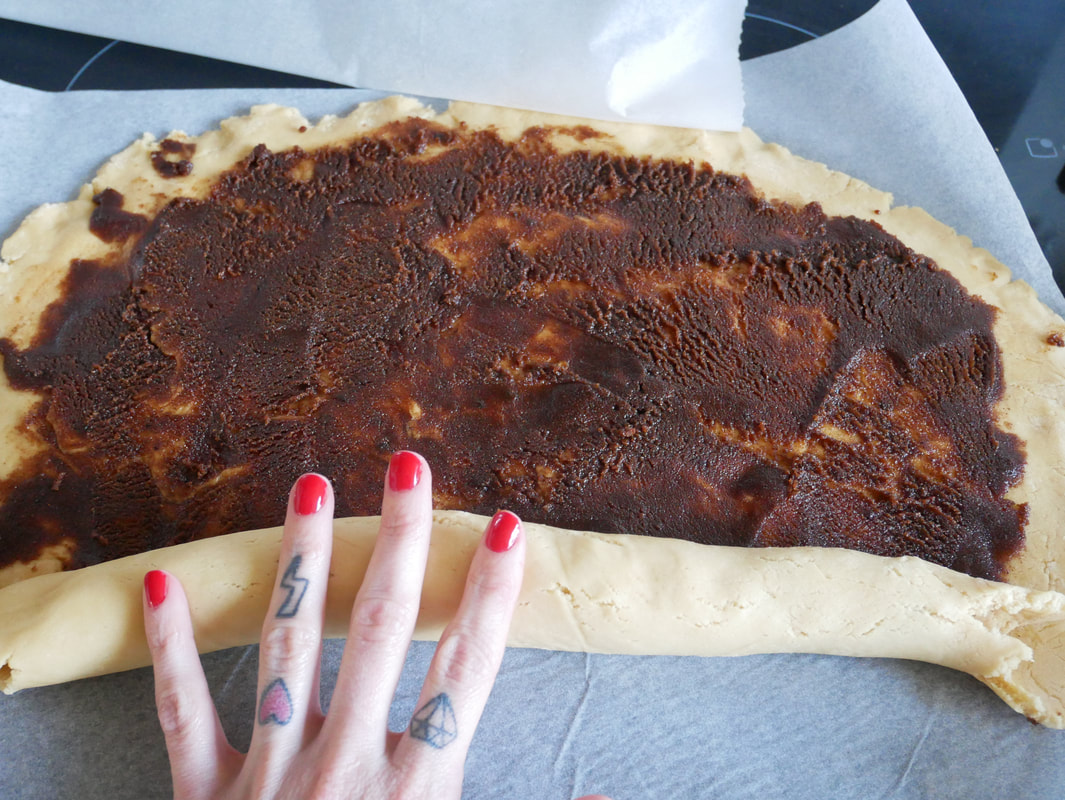
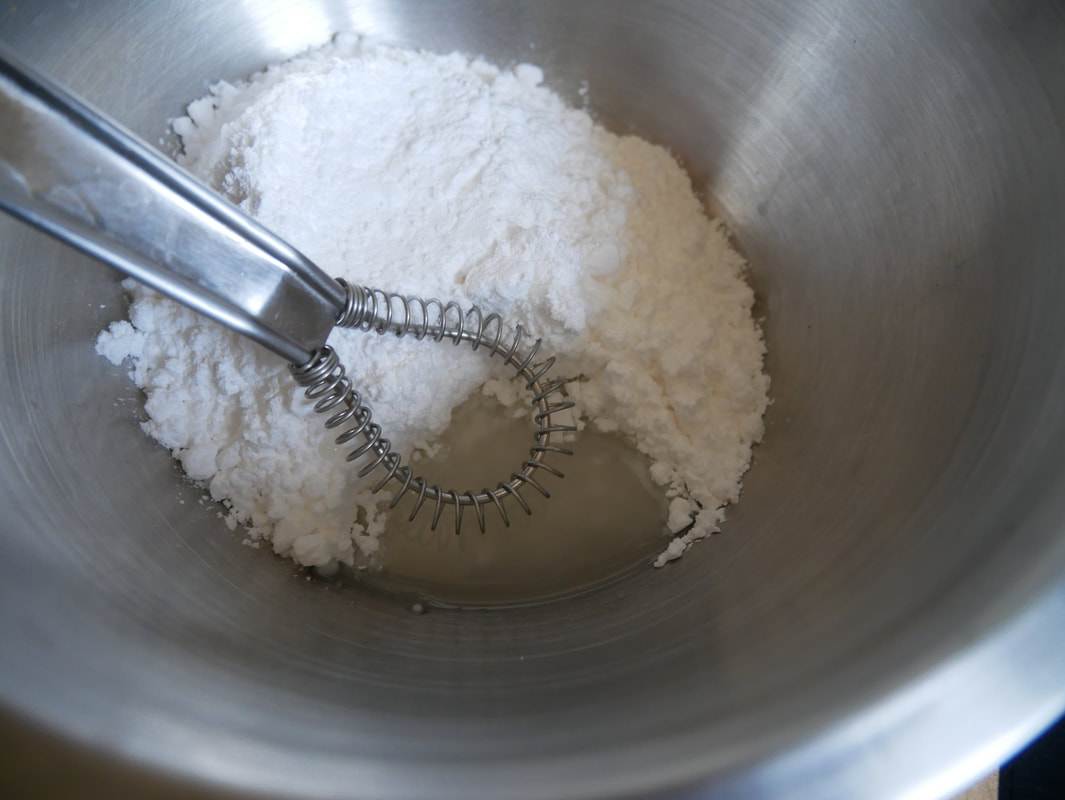
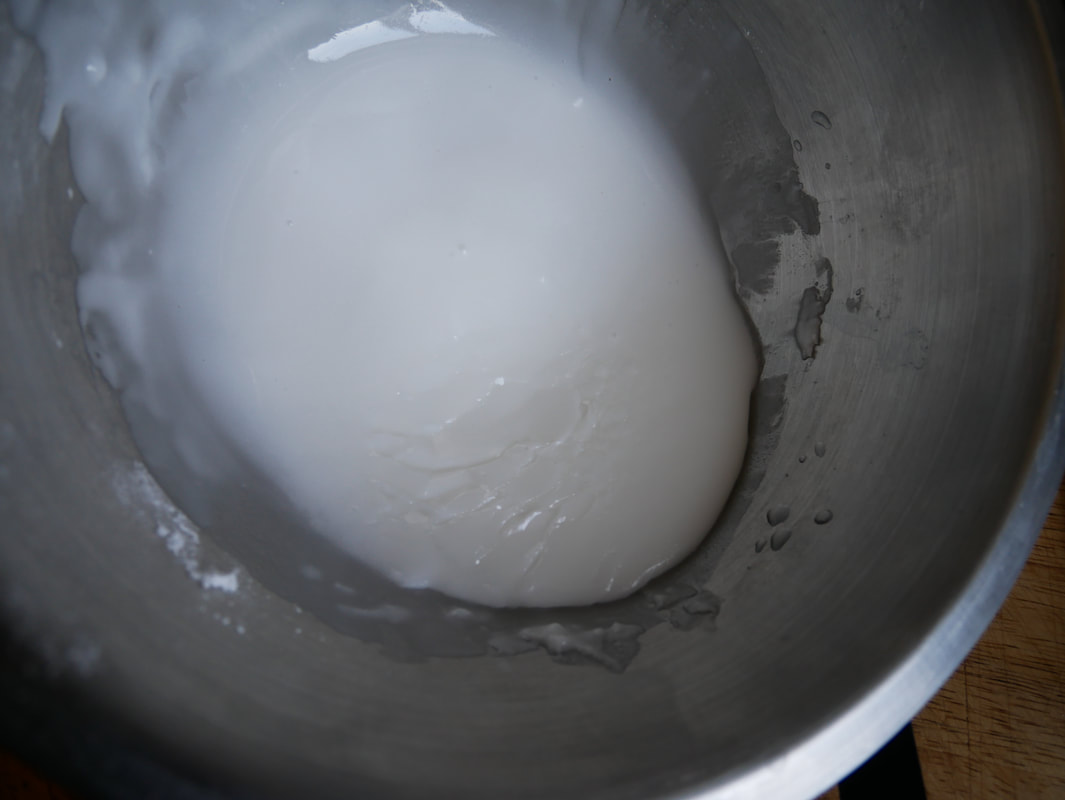
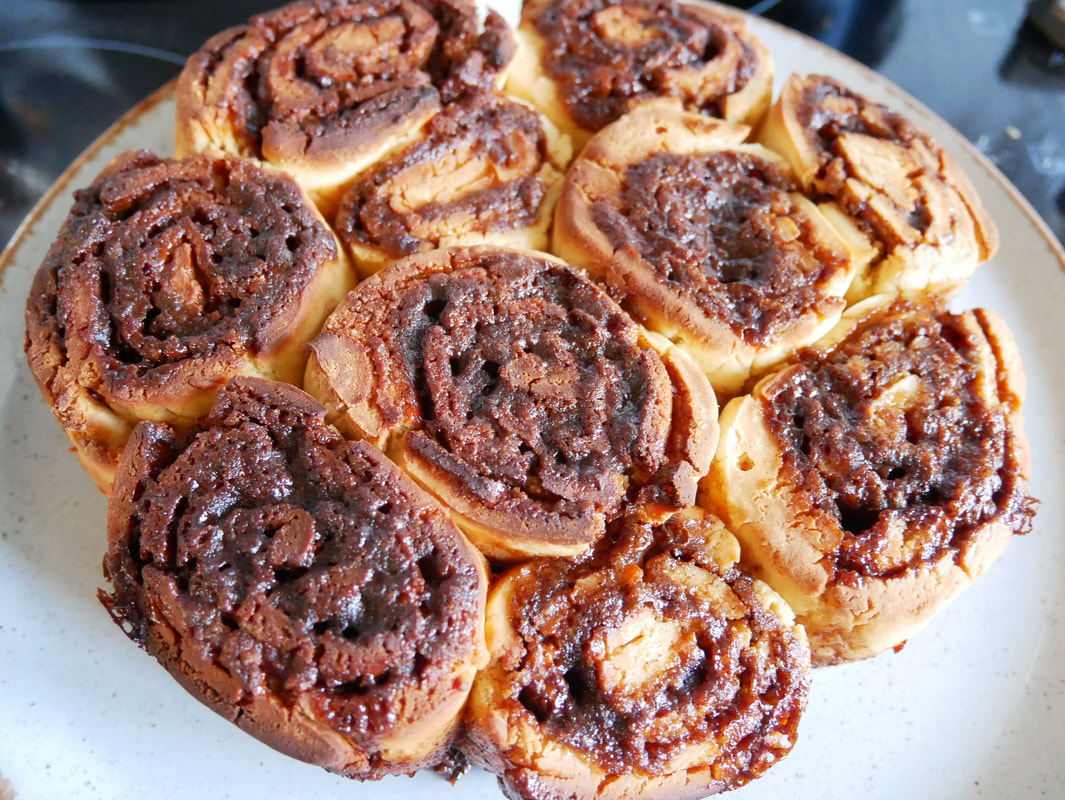
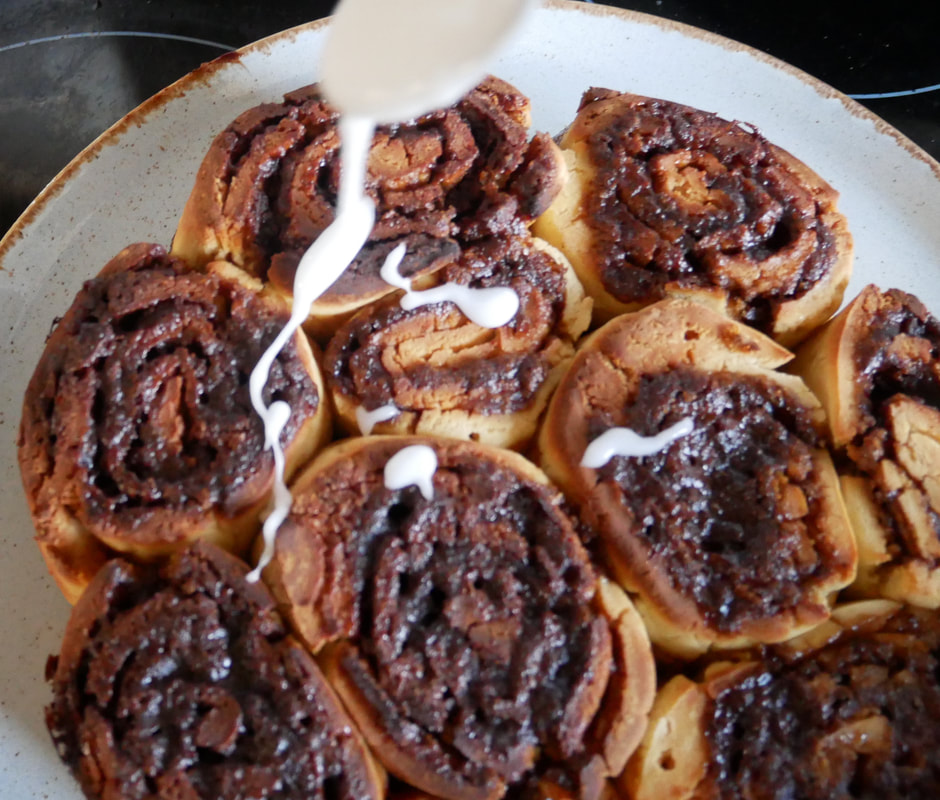
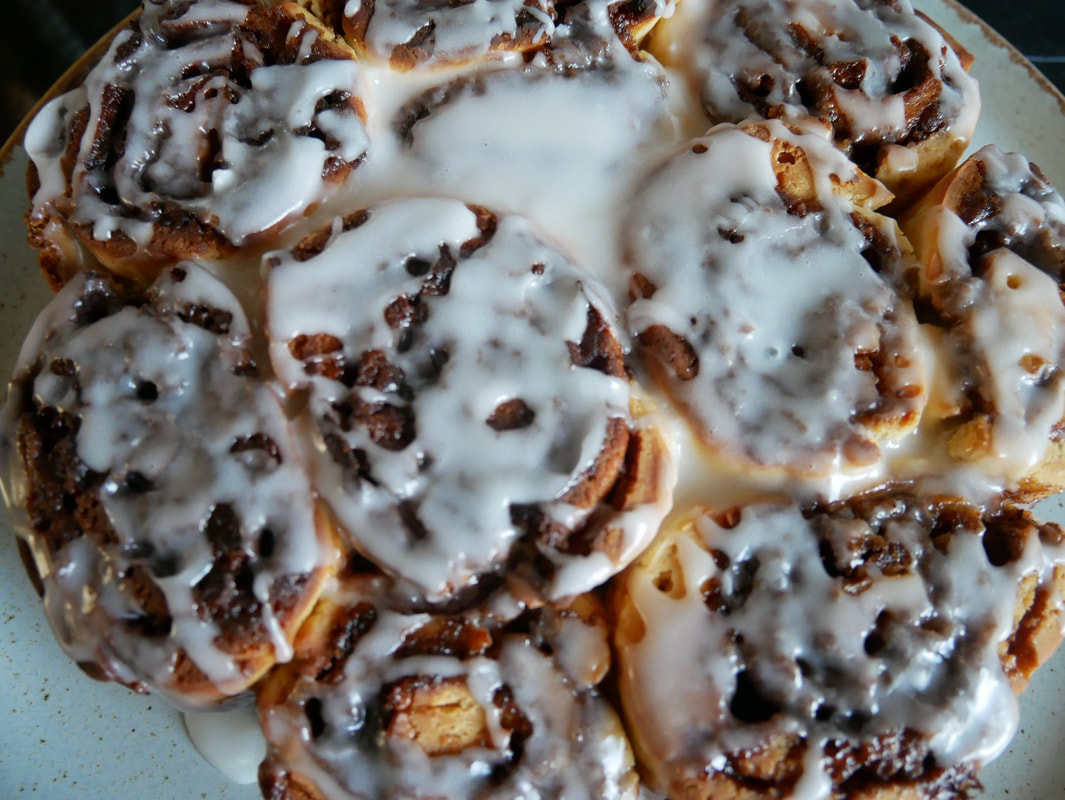
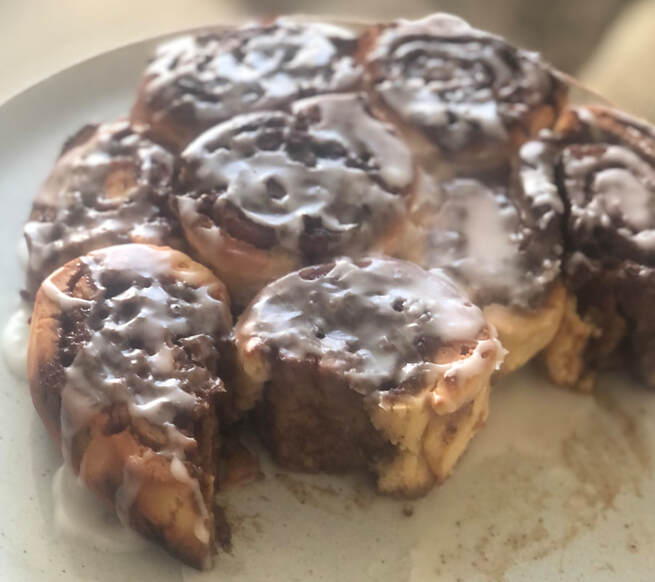 A while ago I posted a recipe for Cinnamon Buns, and, although it was a pretty good recipe then, I've been trying to create one that was closer to the rolls I remember from before I was gluten free. Now, whilst these still aren't quite the same, they are a pretty decent take. Using gluten free flour with as high a protein content as you can is key here - it's why bread flour makes such great bread; it has a high protein content and when it's wheat based, it, of course, produces a lot of gluten. We can't replicate that with GF flours, but we can give our bakes a lot more structure by using these sorts of flours. I use pea flour in this recipe combined with rice- and corn flours, but you could use quinoa flour, oat flour or amaranth flour if you have them. I would recommend adding a little rice flour if you use one of these more savoury style flours to ensure your cinnamon buns have the right level of sweetness. I will also try to add a short how-to style video to my YouTube and IGTV channels for these (if I can figure out how to make them work!) CINNAMON BUNS For the Dough: 180ml warm milk 7g sachet of instant yeast 65g granulated sugar 2 eggs (room temp) 50g unsalted butter (melted) 375-450g flour (depending on the flour used). I used a mixture of 250g pea flour, 125g rice flour & 75g cornflour ½ tsp fine salt 1 tsp xanthan gum or psyllium husk (whatever you have) For the Filling: 140g brown sugar 1 ½ tbsp ground cinnamon 50g very soft unsalted butter For the Icing: 150g icing sugar 2tbsp warm water METHOD:

These are a great Easter-time treat, or just a treat in general, as right now I think we need all the treats we can get!
Happy Baking! You know you're a gluten-free baker of a certain age when just a few of your storecupboard staples are coconut flour, coconut syrup and cacao nib. I worry I'm becoming one of those "Posho" type chefs we are taught to despise, but the problem is, if you're gluten-free, you have to find different flours to work with in order to make recipes work. I, of course, want to make gluten-free cake accessible to everyone, and all the ingredients I use are easy to obtain (and hopefully not too cost prohibitive) but there are some times when only coconut flour will do! So this recipe, borne out of a need to use up 3 rather sad rapidly darkening bananas and a love of banana bread of Brobdingnagian proportions, was created. I am also currently utterly obsessed with this Bali Nutra coconut syrup which adds an almost caramel treacliness to the finished loaf. This recipe marries together flavours you might be more familiar with in a cocktail, but I think they work here so perfectly. A dense and satisfying loaf cake which is both subtly sweet and enticingly nutty. Whilst I am not a vegan, I have provided vegan substitutes below as this recipe is too delicious not to share with everyone. It's like I always say... "let them all eat cake"! INGREDIENTS 4 tbsp coconut oil, melted 1 egg (or the equivalent of egg replacer) 50ml coconut syrup (I used Bali Nutra) 4 tbsp natural yoghurt or dairy-free yoghurt 3 ripe bananas, mashed 150g coconut flour 165g gluten-free plain flour 1 tsp gluten-free baking powder 15g cocoa powder (I used Food Thoughts) 100g coconut sugar 50g dark chocolate chips (check the chocolate you are using is suitable for vegans if you are making this vegan) 10g cacao nib 3 tbsp coffee, cooled Pinch free-flowing salt METHOD
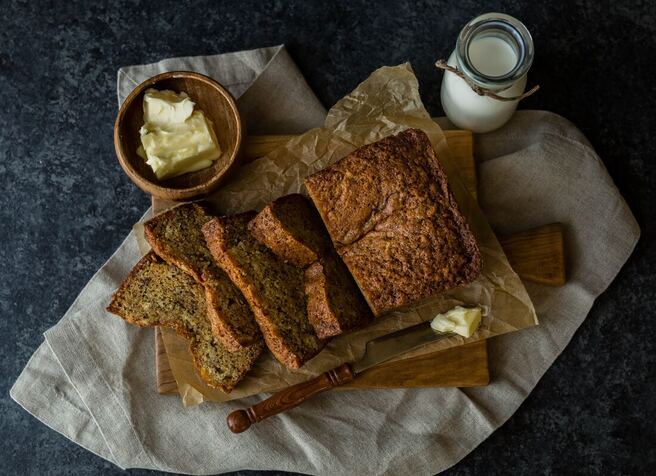 NB: This is a stock photo, as I annoyingly didn't have time to photograph this loaf before it was consumed by a horde of hungry BBQ-goers
After a slightly boozy chat about brownies with some of my favourite foodie friends a little while ago, I spent ages thinking about how versatile these gooey traybakes are. So simple to make and incredibly satisfying to eat, the humble brownie really is what I would deem a superfood!
As if to solidify my thoughts on how truly fantastic they are, a few days ago my sister sent several photos to our family WhatsApp group of her children making brownies, and this then inspired my dad to have a go himself. He wanted a recipe that he could try that he knew I could eat so he sent me a text to ask if I had a recipe. "Of course I have a recipe!" was my immediate response, and proceeded to send it over to him. I realised at that moment that while I have posted a video on my YouTube channel of me making these delicious dense delights, I hadn't actually posted the recipe here! How could I be so silly!? So, here it is, in its full chocolatey glory... Makes 16-20 Ingredients: 150g unsalted butter 150g dark muscovado sugar (or 75g each of light muscovado and dark brown sugar) 150g golden caster sugar 75g Food Thoughts cocoa powder 125g gluten free plain flour 25g raspberry powder 1 tsp bicarbonate of soda ¼ tsp xanthan gum 4 eggs 75g chopped chocolate of your choice (dark or milk preferably) 75g chopped hazelnuts (or any nut of your choice) *you can also add dried fruit, and use caster sugar instead of the dark sugars if this is all you have* Method:
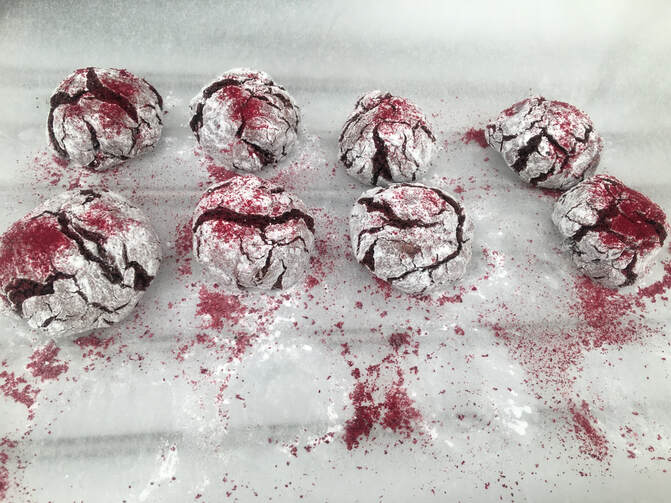
I like old stuff. I'm a vintage girl and constantly inspired by things from the past. The inspiration behind these crackle cookies is, not surprisingly, Black Forest Gateau. Whilst I am not going to lie to you and say that eating these cookies is like eating a Black Forest Gateau, they do, for me, conjure up the same sense of nostalgia. The dried cherries give these little nuggets a delicious sourness which works so well against the heady hit of chocolate. They are not overly sweet, but with their prettily pink dusting of cherry powder, they have just enough to indulge your sweet tooth. I use Food Thoughts products as I believe they give a superior flavour, however, feel free to use whatever you have in your store cupboard. RECIPE Makes 24 Total time to make: 30 minutes INGREDIENTS
METHOD
 |

RecipesVictoria Sponge
KC Orange Cake Rose Petals Yorkshire Puddings Fondant Fancies Cinnamon Buns Cinnamon Buns 2.0 Easter Spiced Cupcakes Crackle Cookies Chocolate & Raspberry Brownies Banana, Coconut & Chocolate Loaf Snickerdoodles Victory Cake Blueberry & Cinnamon Muffins Bramble Muffins Coffee & Vanilla Doodles Archives
June 2022
Categories
All
|


 RSS Feed
